Print Examinations
Materials Testing Department
In the SID Testing Laboratory various tests can be carried out on the materials used in printing. For many tests, which assess the interaction of substrate and ink, the creation of standardized printed samples according to DIN 16519 is a prerequisite. These printed samples are produced by SID on a printability tester IGT Amsterdam 2 Basic.
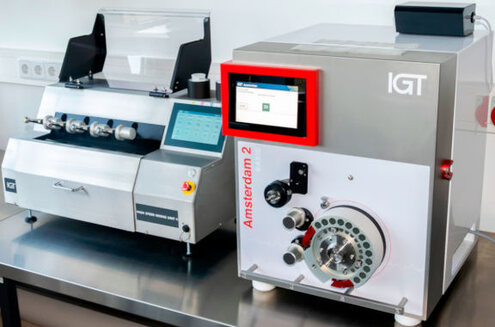
Standardised printed samples are also used to test the ink mileage and the absorption behaviour (counter-print test). A printed sample with a defined inking amount is countered against an unprinted paper on the counter-test printing unit after certain time intervals (e. g. 2 s, 5 s, 10 s, 30 s, 1 min, 2 min, 5 min). The amount of ink transferred to the counter paper is evaluated both visually and densitometrically.
In order to check the picking tendency of papers, a picking test can be carried out on the printability tester. For this purpose, the papers are printed with picking test ink of various tacks and the printing result is visually examined for defects. The decisive factor for the occurrence of picking is the separation acceleration between the paper and the printing ink. This is influenced by the printing speed, so the test printing speed can also be varied. The picking test can be carried out dry – only with paper and ink – or wet – with a preceding dampening of the paper.
For the measurement of the ink mileage the Tollenaar diagram is used.
For the evaluation of the ink penetration tests the laboratory works with standard prints.
The picking resistance is determined with the Printability Tester IGT GST 2 as well.
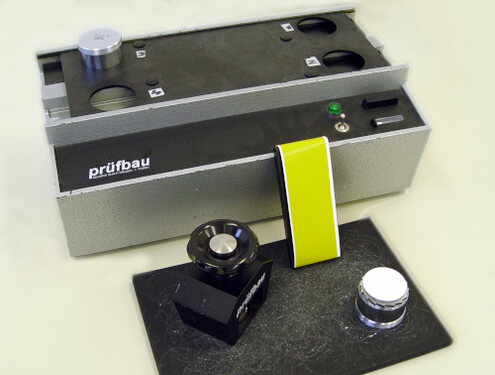
The abrasion test is carried out with a Prüfbau Quartant abrasion tester. For this purpose, standardised printed samples can be prepared or prints from production can be used. These are rubbed against unprinted material with a certain number of strokes. The number of strokes until the counter abrasion sample is discoloured or the print image is destroyed is a measure of the abrasion resistance of the prints.
The anchoring of printing ink or varnish on the substrate can be tested in various ways. The tape test, for example, is common and uncomplicated. In this test, an adhesive strip with a defined pressure is applied to the printed surface and then removed again with a constant force. The layer components adhering to the adhesive tape can be used to draw conclusions about the adhesive strength of the ink layer. The adhesive strength of the adhesive tape is decisive for the significance of the test. It is therefore recommended to additionally monitor the peel-off force during the test.
The scratch resistance of the (ink) layer on a substrate is tested by means of a testing tip which is pulled over the printed surface. The force with which the probe is pressed onto the print is varied in the range from 2 to 5 N and the force at which the surface is destroyed is identified.
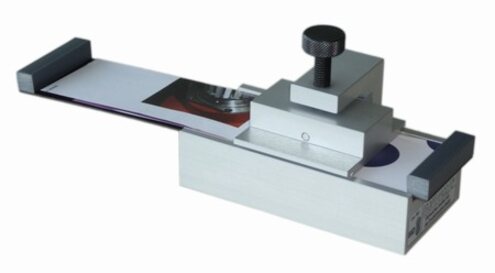
With the carboning test, a printed surface is subjected to a very high line pressure against an unprinted surface. The formation of a strip, which can be seen due to the print on the unprinted paper, is visually assessed. Carboning occurs when printed sheets with high ink coverage in a pile are subjected to high mechanical pressure, e. g. under the clamping bar of a guillotine cutter.
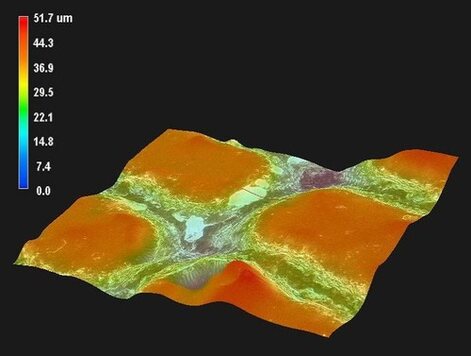
With a Keyence VHX-500FD digital microscope, it is possible to take images of defects or foreign objects in the print or the materials used at up to 2,500x magnification. This makes it possible to determine the type and location of defects and draw conclusions about their cause or origin. With a special function, 3D cross-sections of the measuring samples can be created and measured so that surface structures can be clearly identified.
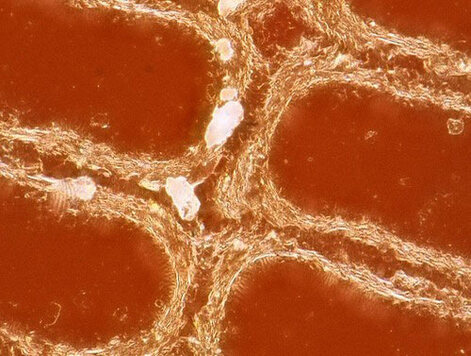
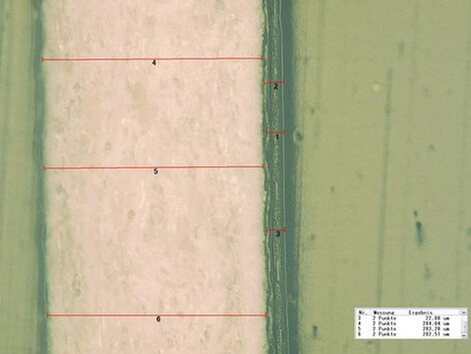
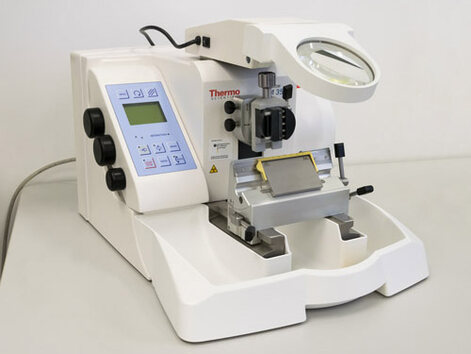
Cross sections of prints, substrates or laminates are produced on a Microtom Thermo Scientific HM 355S. These sections can be viewed and evaluated using the microscope. For example, the thickness of coatings can be determined or defects in composite materials can be detected.
Your Contact partners:
Dipl.-Ing.
Beatrix Genest
Tel: +49 341 25942-28
Dipl.-Ing. (FH)
Carolin Sommerer
Tel: +49 341 25942-23
